So, here is a QUICK and easy project that will help you stay organized and would make a great addition to a teacher gift, too.
 You'll need :
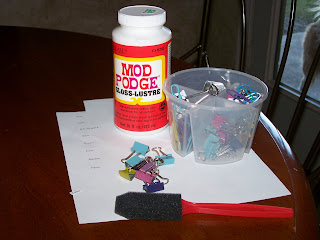
*Binder Clips {I had an assortment of cute colored ones from Staples-that's what is in the plastic tub, but plain black ones will be fine also.}
*Mod Podge
*sponge brush {or your finger if you really want to get messy}
*Your sayings printed out
*scissors
The binder clips come in varying sizes but the ones I used here have clips that measure 3/4" long and 1/2" high. I used a text font size 11 so that my text would fit on my clips once cut out. Adjust your font size to fit your clips.
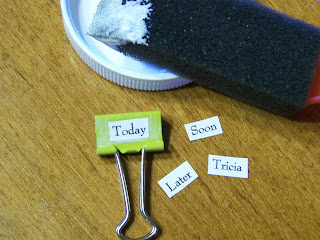 So, determine what sayings you want. I chose to do "today", "soon", "later", my name, my kids and husband's name all for sorting the papers, bills, field trip slips, etc. that seem to find their way to my kitchen counters. I also did a few sets with things like "2 be graded", "graded", "2 be copied", "handouts", and teachers names for teacher gifts. Type them up in a word program and print out. I then cut each word out and applied a thin layer of Mod Podge to one side of each clip. Next, I positioned each word in the middle of the clip while the Mod Podge was still wet. I let that coat dry and brushed another coat on top to seal and I was done.
Super quick, easy and cute...not to mention, practical. What other sayings or words would you put on yours?